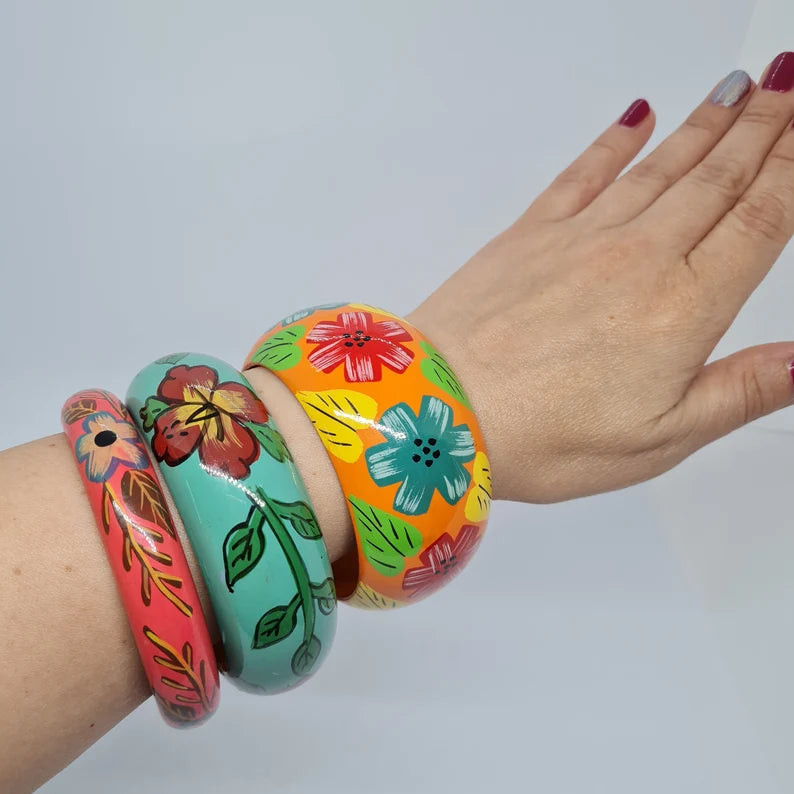
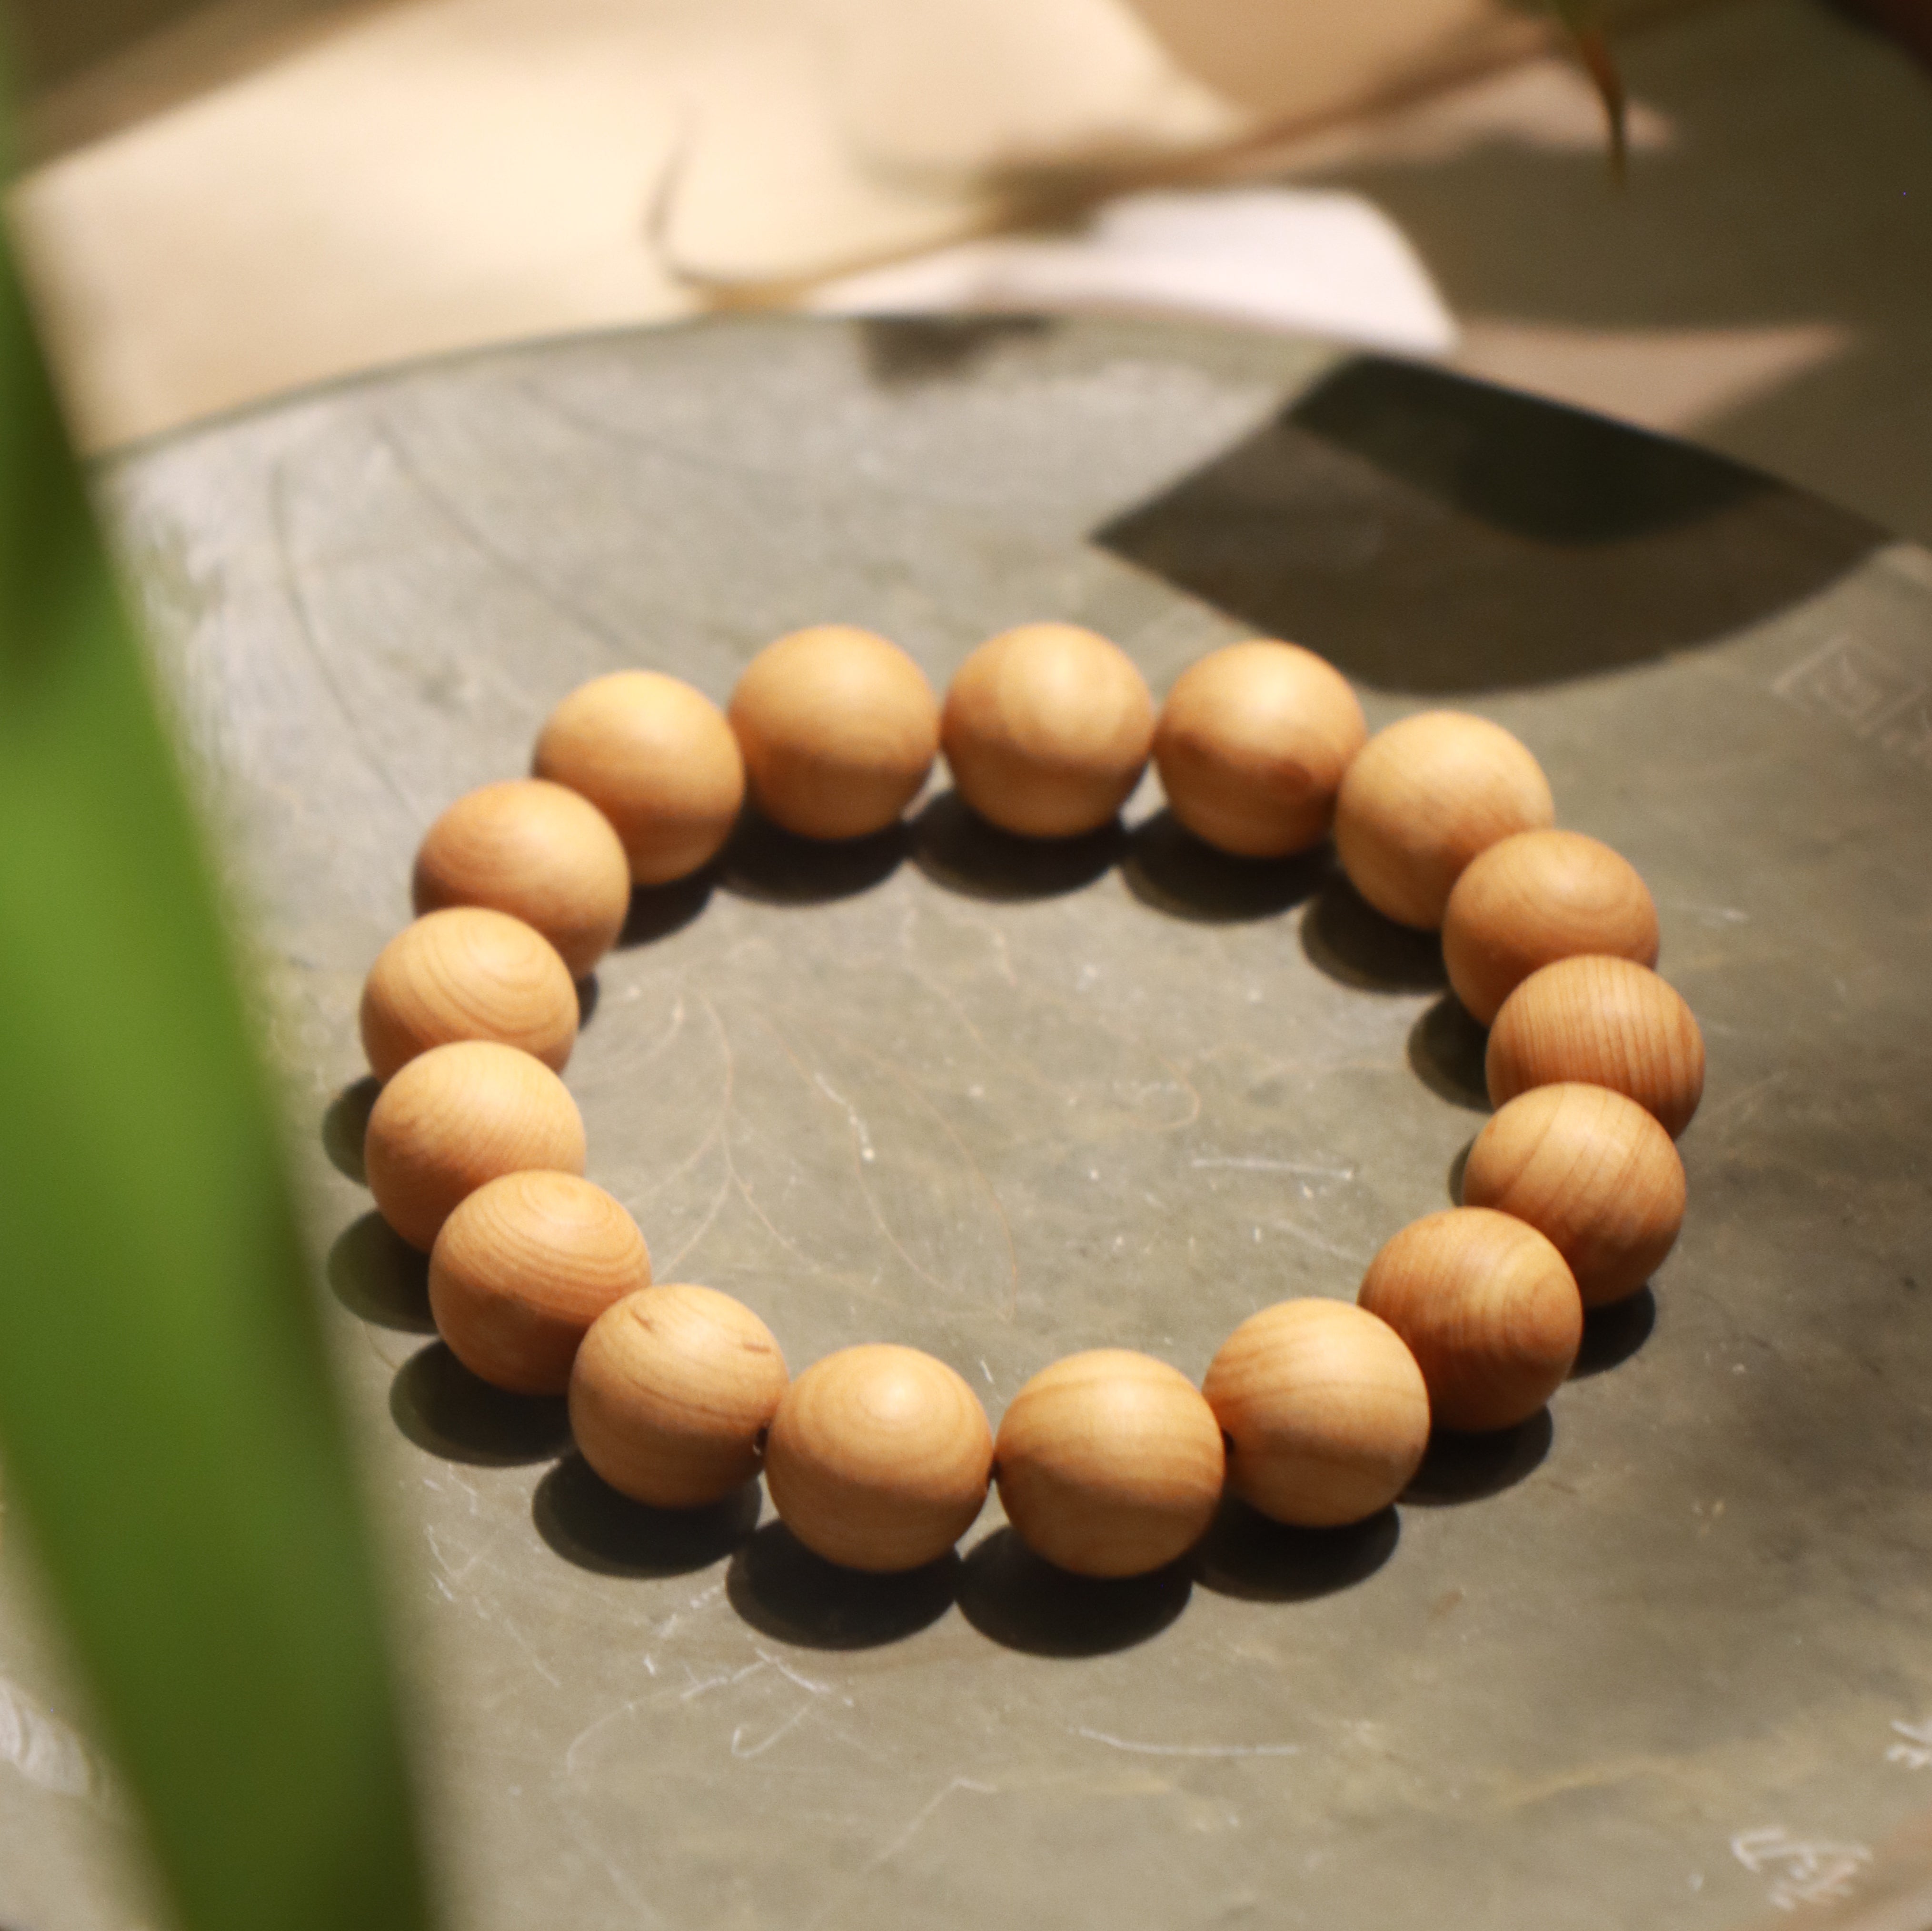
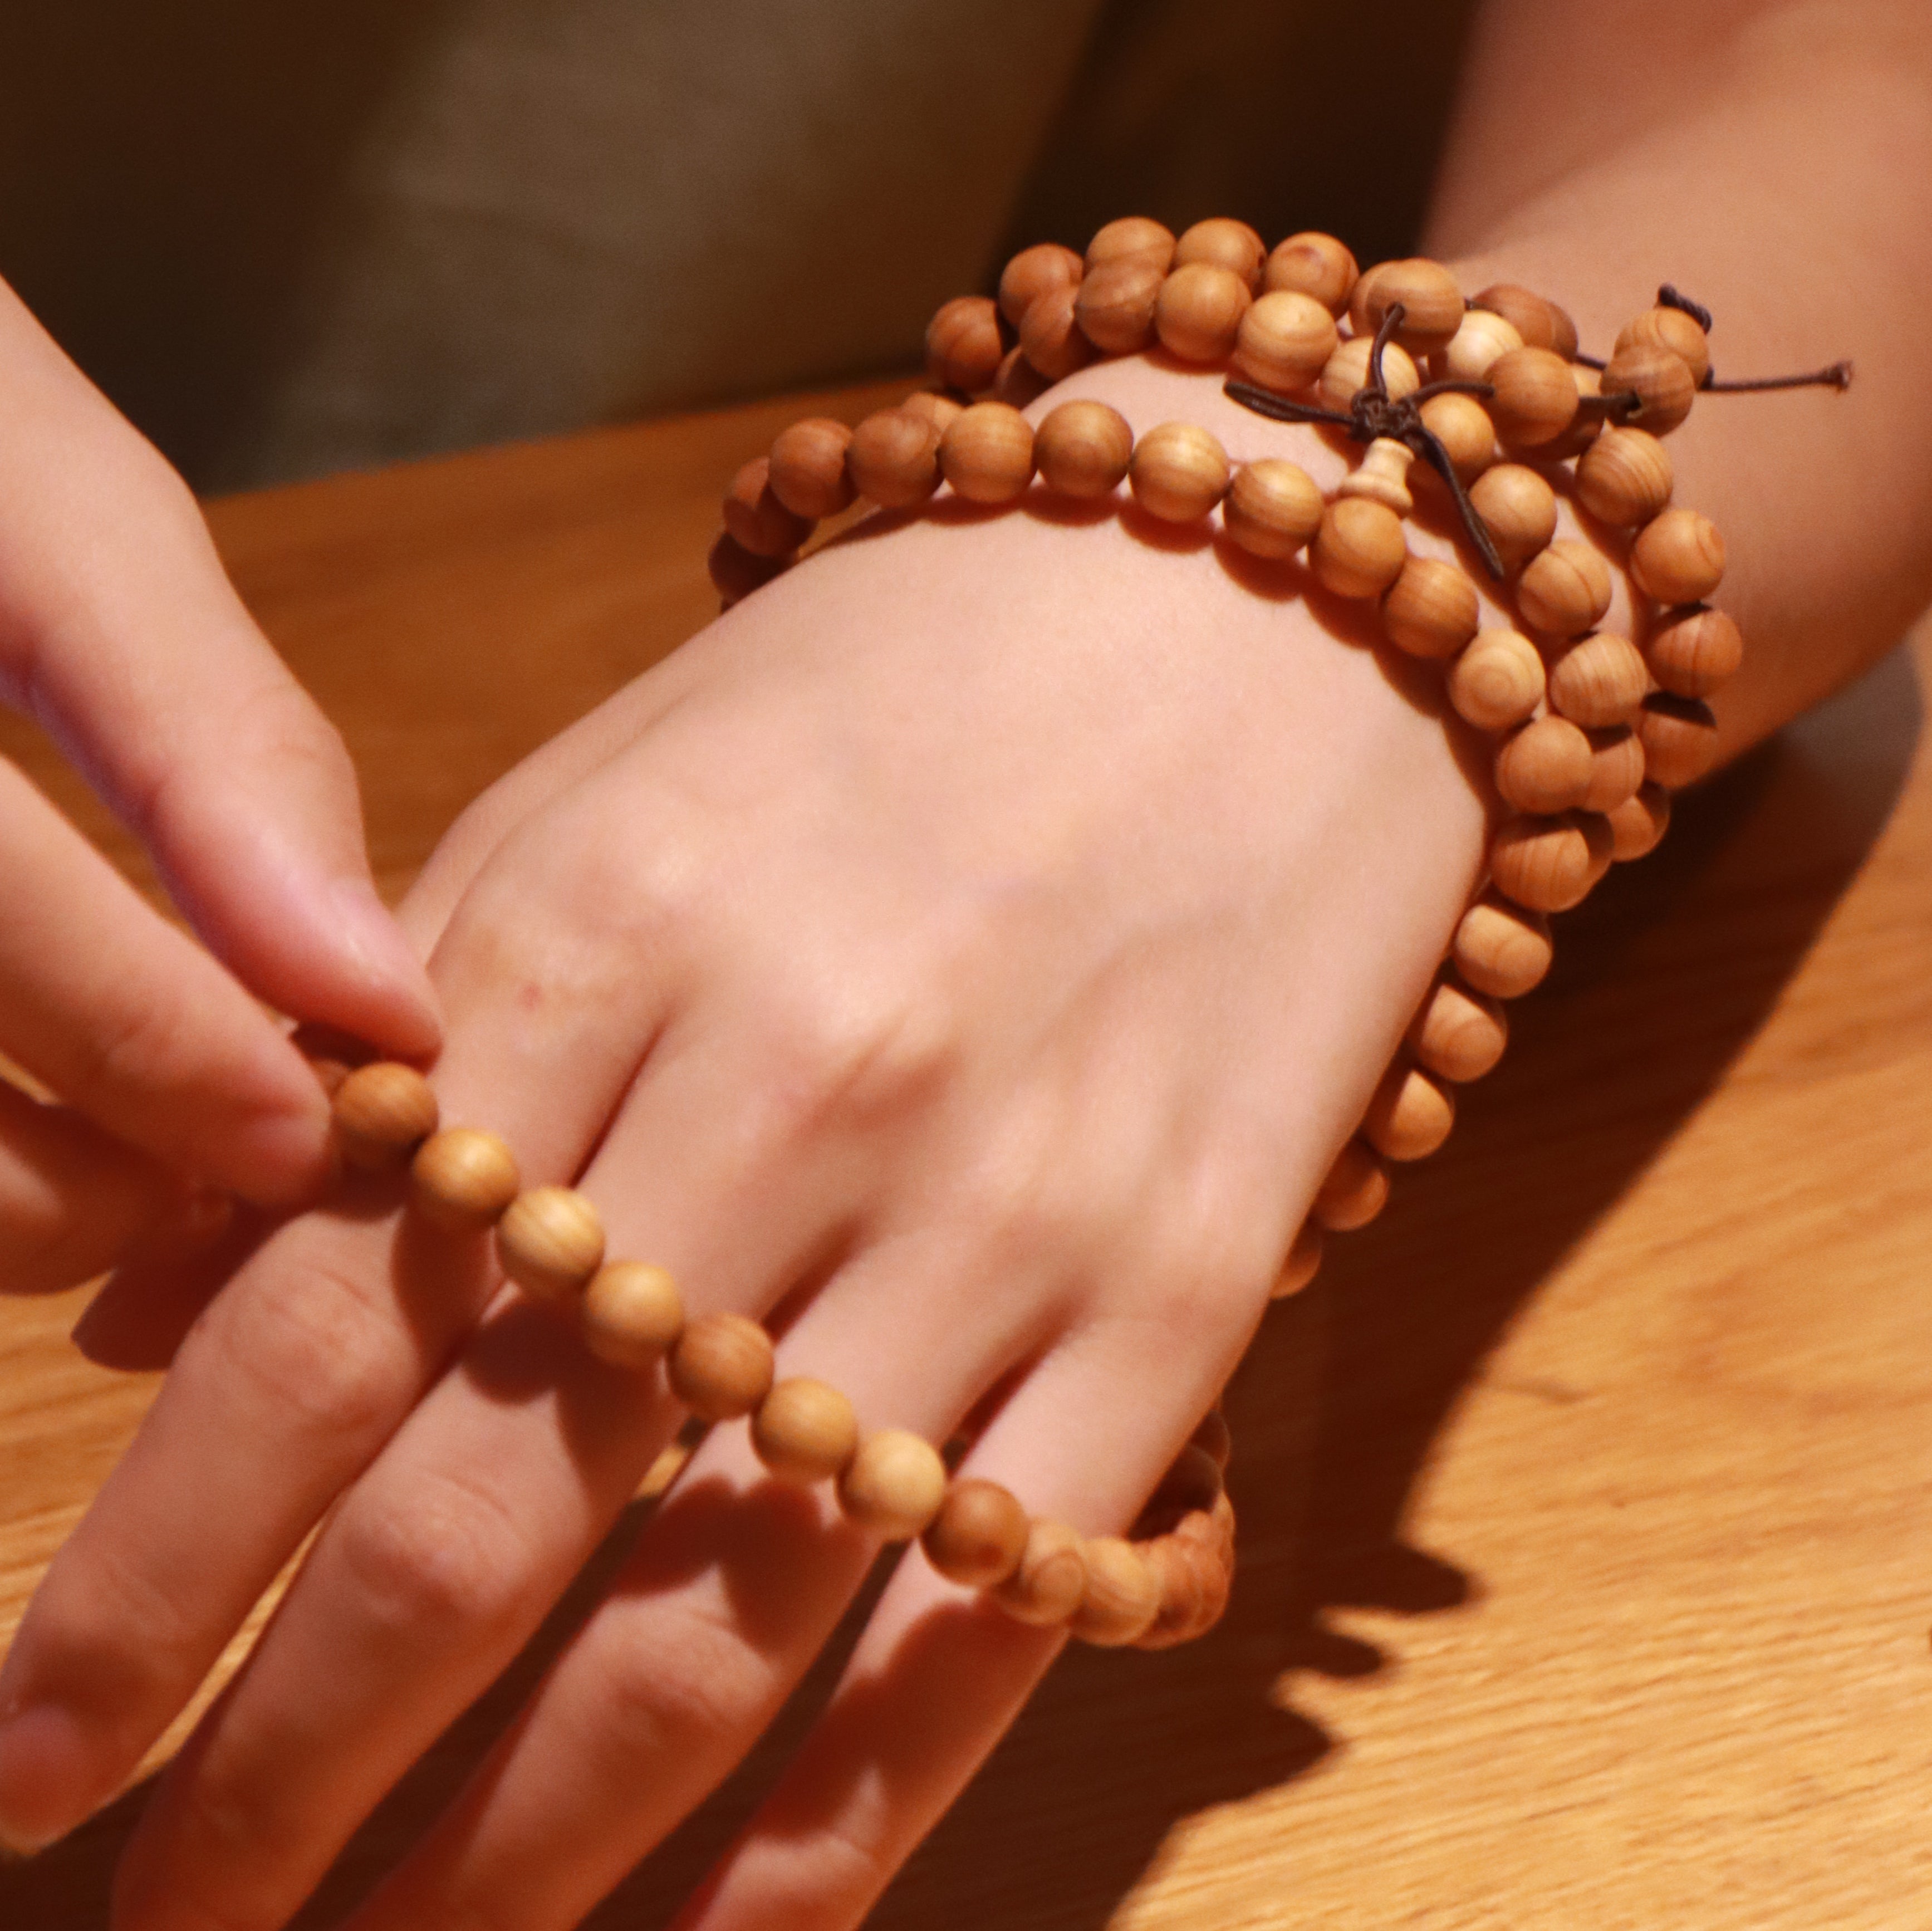
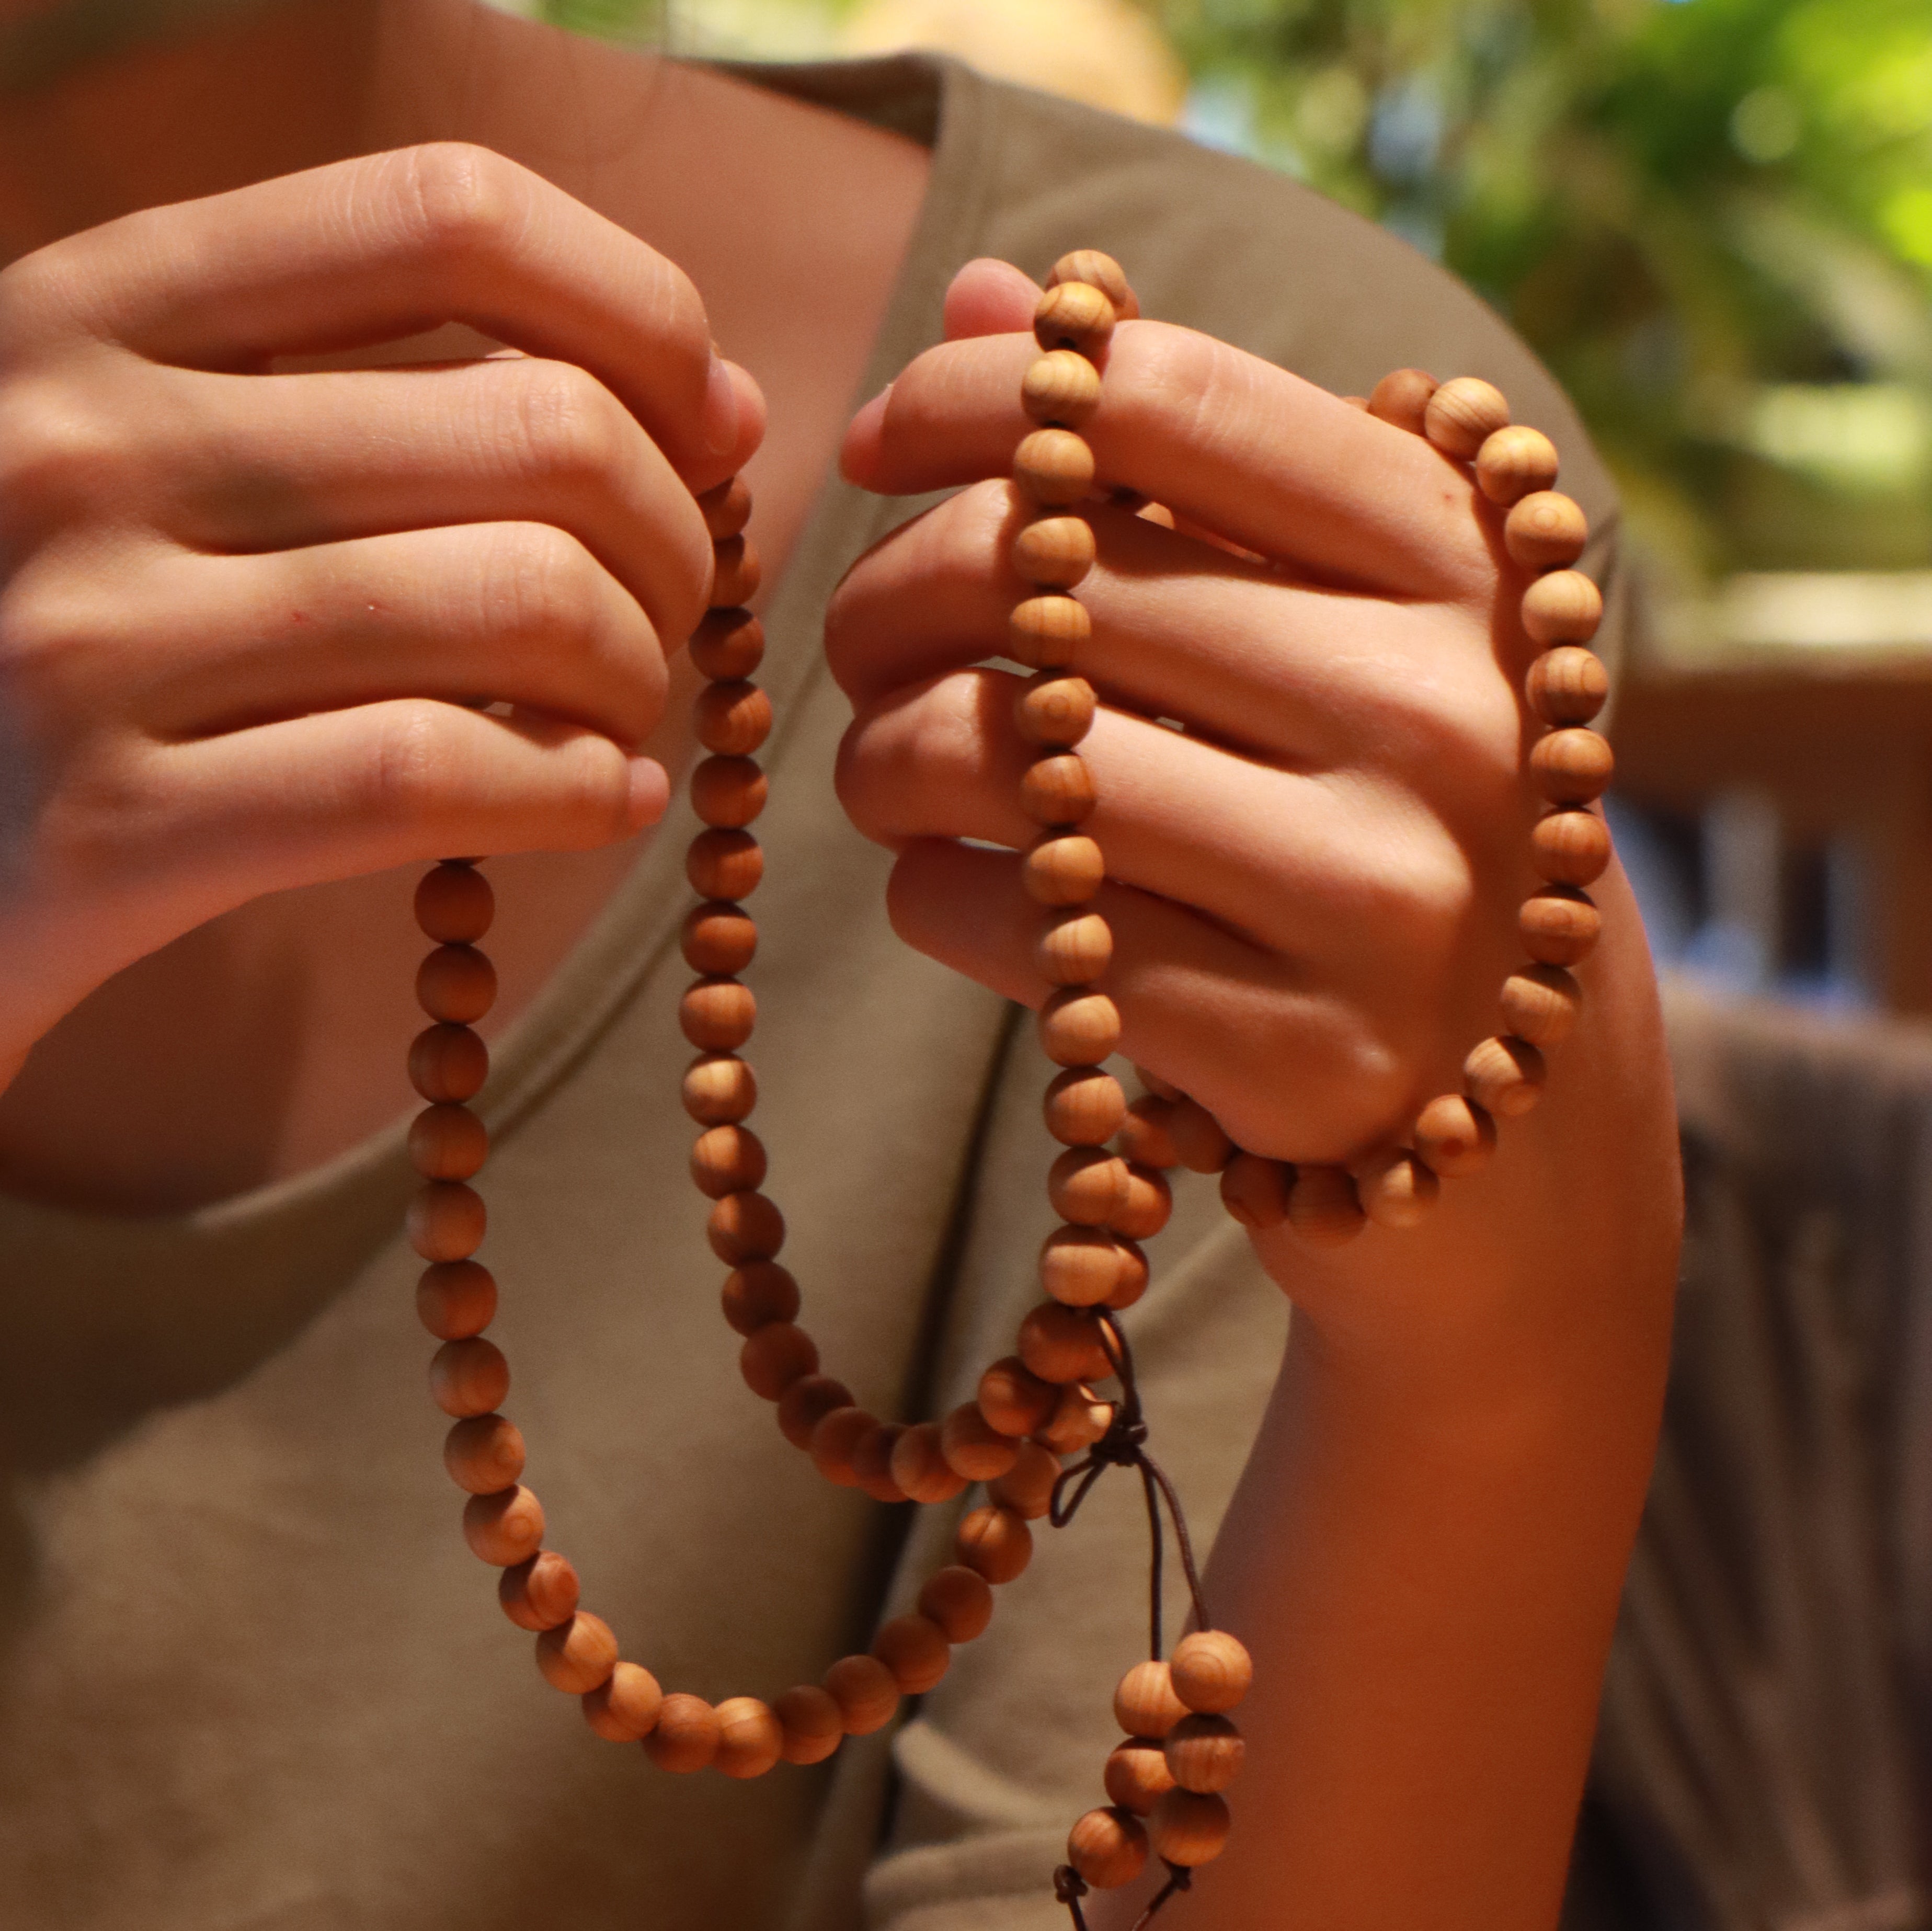
Crafting jewelry yourself can be both enjoyable and fulfilling; plus, it allows you to express yourself creatively! One great DIY project you should explore is customizing a wooden bangle bracelet using colored pencils - creating stunning wearable art unique to yourself! In this blog, we'll walk through every step, from selecting materials to styling the finished piece!
Why Color Pencil a Wooden Bangle Bracelet?
Customizing wooden bangle bracelets with colored pencils can be an incredible way to express yourself creatively and display your individuality. The natural wood surface provides the ideal canvas upon which your creativity can flourish; offering endless color, pattern and design opportunities! From bold hues and designs to subtle hues and shades - coloring with pencils allows you to experiment and discover various techniques while showing your flair!
DIY jewelry projects give you the ability to craft something truly personal, from matching designs with outfits you like or your mood to one-of-a-kind gifts! In contrast to store-bought accessories, handmade bangle bracelets allow you to express yourself meaningfully - it feels rewarding knowing something you created yourself will remain part of you for life!
Materials Needed for Color Penciling a Wooden Bangle Bracelet
Before you start, gather the following materials:
- Wooden Bangle Bracelets: Select smooth wooden bangles made of light woods like maple or birch for ease of handling and to add some vibrant pops of color to the bracelets. Check for cracks or imperfections so as not to compromise its design and craftsmanship.
- Colored Pencils: High-quality colored pencils such as Prismacolor or Faber-Castell work perfectly for this task, providing vibrant pigmentation while seamlessly blending onto wooden surfaces.
- Sandpaper: Smooth the wood surface using fine-grit sandpaper (220 grit), to make it more absorbent for pencil pigments.
- Clear Varnish or Sealer: Protecting artwork requires using a protective clear coat to help prolong its beauty, protecting its colors from fading or wearing off with time.
- Pencil Sharpener & Eraser: To add fine details and make adjustments during the creative process, a sharp pencil and quality eraser will come in handy.
-
Ruler and Stencils: If you want a more structured design or need help with symmetry, these tools will assist in guiding the lines and patterns to ensure precision in execution.

Preparing Your Wooden Bangle for Color Penciling
Step 1: Sanding the Surface of the Wooden Bangle
Before beginning, use fine-grit sandpaper to gently sand down the wooden bangle surface using fine grit sandpaper and remove any rough spots, splinters or imperfections to ensure an even surface that allows colored pencils to adhere more securely and uniformly. This step is essential since smooth surfaces provide for easier application of colored pencils.
Step 2: Cleaning the Wooden Bangle
After sanding your bangle, wipe away any dust or debris with a soft cloth to ensure smooth adhesion of colored pencils. This preparation helps your design shine without any particles affecting its final appearance.
Designing Your Wooden Bangle Bracelet with Color Pencils
Step 1: Choosing the Design for Your Bangle
Think carefully about the style you wish to achieve when color penciling, whether geometric designs, intricate floral motifs, or abstract art is your style of choice. What makes color penciling special is its capacity for producing designs of various complexity levels--you just have to find out your skill level and artistic vision to unleash its full potential!
Step 2: Sketching the Design
Before beginning coloring, use a pencil to sketch your design as a guideline for colored pencils lightly. Rulers or stencils may help with precision of design symmetry & accuracy - keep lines light so as not to interfere with coloring later!

Applying Colored Pencils to Your Wooden Bangle Bracelet
Step 1: Adding the Base Color
After sketching your design, begin applying its base colors using broad strokes for even coverage across the surface. Start from inside of bangle before moving outward. Depending on what look you prefer, cover all surfaces or leave certain spots open as accents for contrast.
Step 2: Layering Colors for Depth
Make your design even more dynamic by layering multiple colors. Colored pencils are great at blending, so apply one shade after another until depth and dimension have been created. Blend them using either a blending stump or a soft paper towel for a smooth transition between shades.
Step 3: Adding Fine Details
Use a sharp pencil for an expert finish by adding fine details with delicate lines, highlights or accents that add professional details. Play around with complementary colors so your details pop and draw focus towards specific areas.
Sealing and Protecting Your Color Pencil Wooden Bangle Bracelet
Step 1: Applying a Protective Sealer
Once your design is finished and you are happy with its colors, seal it. Apply a light layer of transparent varnish or coating sealer over all parts of the bangle; this will protect it from smudges, scratches and faded colors, as well as prevent future scratches and wear and tear. Choose a non-yellowing varnish for lasting effects.
Step 2: Drying Time
Allow the bracelet to dry completely in a well-ventilated area before moving it on to sealing steps. Depending on which sealant type was selected, drying could take anywhere between several hours and overnight; be patient as its protective layer hardens fully, safeguarding your beautiful artwork in its entirety.
Wearing Your Color Pencil Wooden Bangle Bracelet
Once your wooden bangle is complete, it's time to show it off! Wooden bangles can be worn alone for a minimalist aesthetic or stacked together for a trendy boho aesthetic. Pair your custom bracelet with casual outfits like jeans and T-shirts for casual days, or dress it up by pairing it with flowing dresses for more elegant occasions - wooden bangles' versatility allows it to integrate into any wardrobe seamlessly!

Conclusion: Enjoy Your Custom Color Pencil Wooden Bangle Bracelet
Making a custom colored pencil wooden bangle bracelet can be an enjoyable, fulfilling creative project that allows you to explore your artistic side while leaving with something one-of-a-kind and wearable! No matter whether it is for bold fashion statements or thoughtful gifts - creating this DIY project allows your creativity to run free while leaving with wearable artwork as its legacy! So gather up materials, sketch designs, and let your imagination run wild--your perfect one-of-a-kind bangle awaits!

