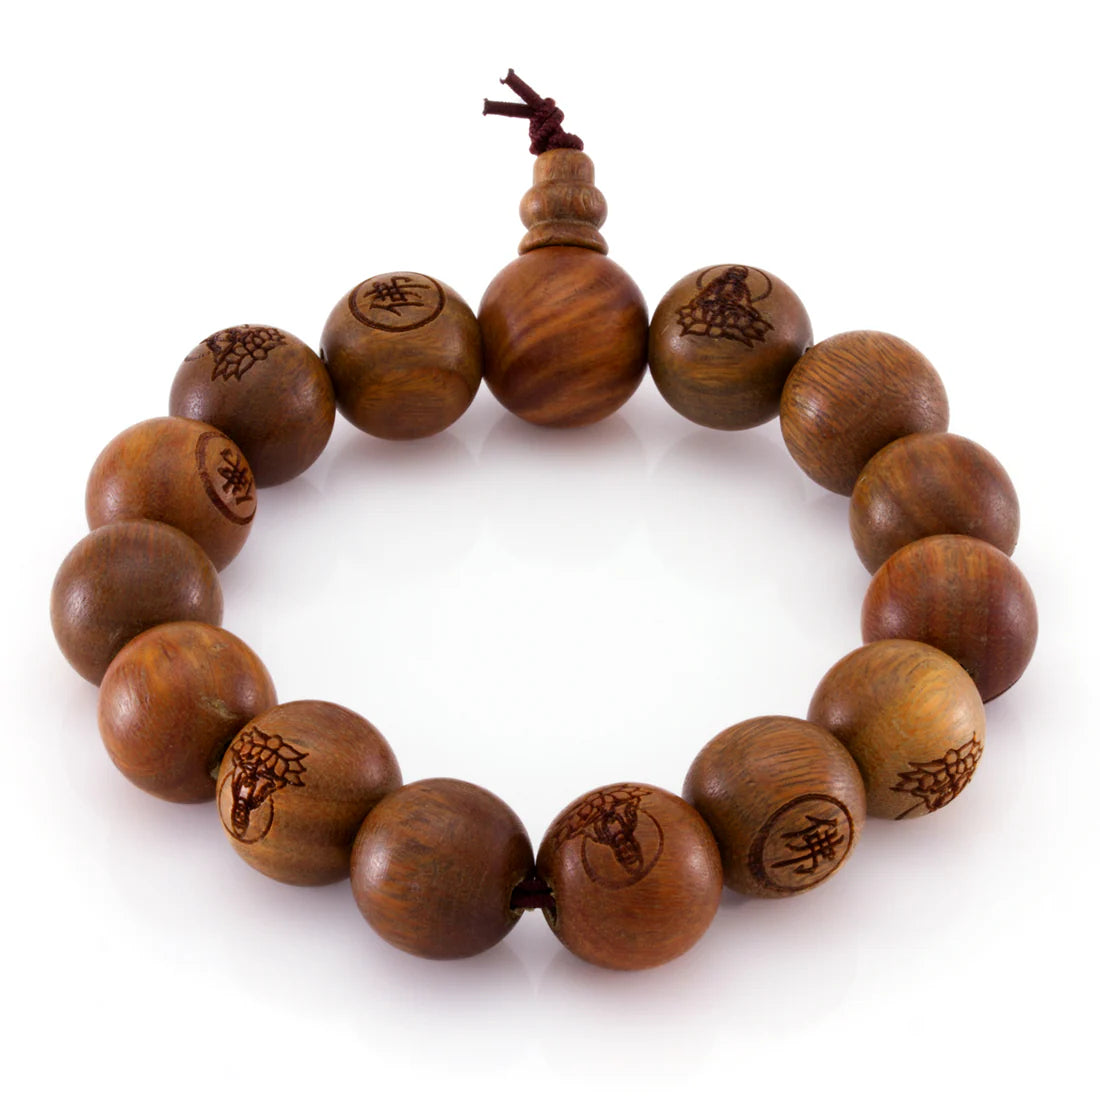
Wooden bracelets are timeless accessories that combine natural elegance with creative expression. Crafting one for personal use, gifts, or business can be fun; understanding how to join wooden bracelet links correctly for durability and design is vital - so in this guide, we'll go further in detail on not just steps but also techniques, tips and considerations when crafting wooden bracelets that last and impress.
1. Introduction to Wooden Bracelet Crafting
Wooden bracelets are beloved because of their organic look and lightweight feel, making them suitable for many fashion styles, from boho chic to minimalist elegance. But crafting wooden stretch bracelets that combine style with durability requires precision, quality materials, and precise construction techniques - something wooden beads alone cannot do.
Why Durability Matters
- Daily Wear and Tear: Stretch bracelets can be worn daily and put through constant stretching; thus, they must withstand repeated use without snapping under pressure.
- Sentimental Value: Many handmade bracelets are given as presents or hold personal significance; therefore their longevity becomes extremely significant.
This guide not only discusses how to put together your bracelet links but also tips that will ensure they keep their beauty and structure for years.
2. Materials and Tools for Wooden Bracelet Making
Selecting the necessary materials and tools is key to creating a reliable and appealing wooden bracelet. Here is an in-depth breakdown of essential items needed:
Key Materials
- Stretch Cord: Opt for a premium stretch cord, such as Beadsmith Opalon, which is well known for its strength and elasticity. A 0.7mm or 1.0mm cord works great with most bead sizes.
- Wooden Beads: 8mm beads make an excellent starting point for most designs, offering both comfort and visual appeal. Experiment with larger or smaller beads for greater variety; use painted or carved beads to add personality!
-
GS Hypo Cement: This adhesive helps secure knots over time without creating a mess, thanks to its precision applicator.

Essential Tools
- Big Eye Needle: Thread your stretch cord easily through beads when double-stranding it for extra strength.
- Scissors or Snips: Sharp scissors ensure clean cuts without frayed ends that could weaken knots over time.
-
Measuring Tape: Accurately measure the bracelet for optimal fitting; measuring accurately is critical.

3. Step-by-Step Instructions for Joining Wooden Bracelet Links
Here’s a detailed step-by-step guide to assembling your wooden bracelet:
Step 1: Preparing the Stretch Cord for Your Wooden Bracelet
Measure your wrist, adding 2-3 inches for knotting purposes. Double the length so that there will be enough cords for threading back through beads for reinforcement purposes, using a big eye needle for an easier threading process.
Step 2: Stringing the Beads onto the Wooden Bracelet
Carefully string your beads onto the cord using the needle. For a professional finish: Alternate bead sizes or patterns for an eye-catching design; leave a gap of about 1-2mm so the bracelet won't become too snug; test length by wrapping around the wrist to ensure a comfy fit.
Step 3: Doubling the Cord for Strength in Wooden Bracelets
Once beads have been strung on the cord, loop the cord back through them using a needle to form a double strand. This step greatly extends the durability of bracelets with heavier beads.
Step 4: Knotting the Cord for a Secure Wooden Bracelet
Tie the two ends of your cord together using an overhand knot, adding extra knots as reinforcement (such as surgeon's knot or interlocked knot for extra grip). Test it by pulling gently on either end to make sure that everything is secure before testing out further by gently pulling both cord's ends to see how far apart they are from one another.
Step 5: Securing the Knot with Glue for Wooden Bracelets
Make the bracelet more polished looking by applying a small dab of GS Hypo Cement directly over each knot, then placing a bead over it to cover and hide the knot. Allow this glue to be set for at least 24 hours to ensure maximum strength in your bracelet's clasp and wearability.
Step 6: Finishing Touches on Your Wooden Bracelet
Trim any extra cord with sharp scissors, leaving just a small tail for added security. Inspect the bracelet for loose or uneven beads. Add charms or decorative elements as desired to personalize and personalize its style further.
4. Tips for Making Durable Wooden Bracelets
Here are additional tips to take your bracelets to the next level:
- Cord Tension: Keep the stretch cord slightly loose to avoid strain on the beads, which could eventually crack from strain.
- Knot Placement: Hide knots within larger beads to achieve a seamless appearance when using decorative designs on them, especially when wearing necklaces with knots that show.
- Weight Consideration: For bracelets featuring gemstone or metal accents, use a thicker cord and tighten all knots securely to avoid potential failure.
Styling Ideas
- Mix wooden beads with gemstone spacers or metal accents to give your bead necklace an updated aesthetic.
- Use wooden beads painted in vibrant hues for an eclectic boho vibe.
- Craft multi-strand bracelets by layering cords featuring complementary bead patterns.
5. Conclusion: Perfecting Your Wooden Bracelet Craft
Joining wooden bracelet links can be an engaging creative endeavor that marries artistry with practical skills. By carefully considering every detail--such as choosing quality materials, reinforcing cords and knots--you can craft bracelets that stand out for both their visual appeal and long-term use.
Encourage yourself to experiment with various bead types, sizes and patterns until you discover your signature style. Remember, the joy of crafting lies not solely in creating something tangible but in exploring its various stages en route!


