


Unleash Your Creativity: A Step-by-Step Guide to Making Personalized Crystal Bracelets
Hello jewelry enthusiasts! Are you new to jewelry making and feeling intimidated by all of the supplies required? No need to worry: it doesn't have to be difficult! In this post, I'll outline my process for crafting stunning crystal bracelets as an experienced jewelry designer and maker - so you, too, can create beautiful pieces quickly with minimal effort and supplies required!
What Is a Crystal Bracelet?
Crystal bracelets are versatile pieces of jewelry made of crystal beads that can add beauty, variety, and metaphysical properties to an ensemble. Crystals are believed to carry unique energies that may aid healing, protection, manifestation, or manifestation - and wearing one close can keep these energies within your reach for greater well-being and mood improvements. Whether or not you believe in its metaphysical aspects or admire its aesthetic appeal a crystal bracelet makes a versatile addition that adds flair and style.
Your Goals for Making a Bracelet
1.Durability: Craft something lasting.
2.Efficiency: Complete it quickly.
3.Simplicity: Utilize only essential supplies.
4.Versatility: Craft pieces you can give as gifts or sell.
With this straightforward tutorial, you will be able to achieve all these objectives and more!
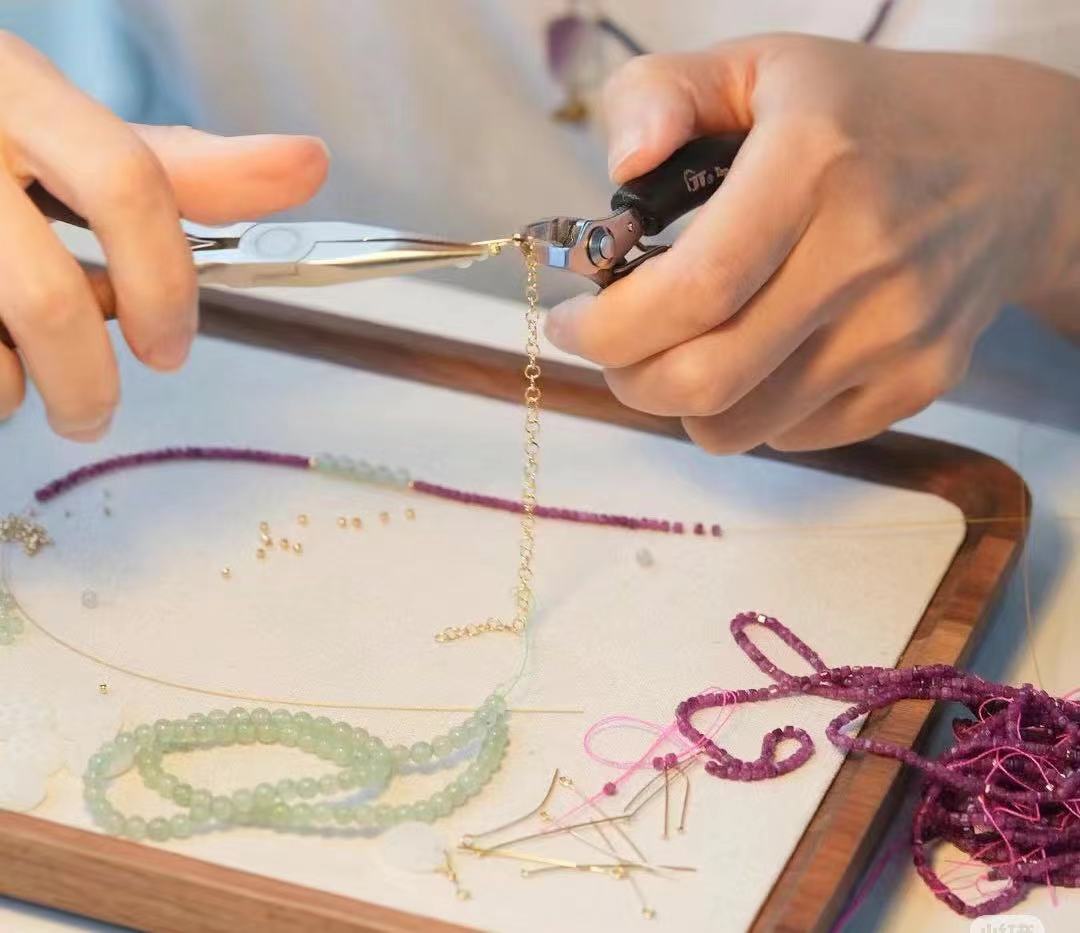
Here Are What Supplies You Can Find Now.
1. Beads
Choose beads of any variety--gemstones, glass, or even wood will work just fine--for this tutorial, we will use 8mm round amethyst and 8mm round rose quartz beads that have an ideal size and look great together to form comfortable bracelets. Feel free to mix materials and sizes to achieve an original style!

2. Elastic Cord
To select an elastic cord that retains its shape when stretched, we suggest NinjaCord as it's durable and suitable for most bead sizes. Ideally, your elastic cord should be strong enough to secure beads yet flexible enough to stretch over your hand when wearing your bracelet.

3.Scissors
You will require scissors in order to cut the elastic cord at an appropriate length and ensure it makes for a clean cut, making threading the beads simpler. Sharp scissors will produce optimal results in this regard.

4.Optional Tools
A beading board helps you plan and arrange your design before stringing beads onto an elastic cord.
Teatrul Tape secures elastic cord while you work.
Jewelry Glue offers extra security to knots during stringing.
Steps for Crafting Your Bracelet
Measure Your Bracelet Size
Wrap an elastic cord around your wrist to determine its base length, then add 0.5-1 inches. If your wrist measures 6.5 inches, cut the cord length down to approximately 7 to 7.5 inches before cutting an extra 6 to 7 inches to allow enough length for knotting; therefore, if your wrist measures 6.5 inches, cut 12 inches of cord.

Design and String Your Beads
Create your bead pattern. Arrange the beads in their desired arrangement on a flat surface or beading board so you can visualize how your final look will come together while simultaneously making sure your design is balanced. Once satisfied with this step, begin stringing beads onto an elastic cord using no needles; thread each bead directly onto it, allowing your creativity to flourish through different patterns and combinations!

Stretch the Cord
After stringing all your beads, gently stretch the cord. This step helps prevent your bracelet from loosening with time while simultaneously eliminating gaps between beads for a more polished look. Be wary not to overstretch, as doing so could weaken it and break your bracelet altogether!

Tying the Knot
To secure your bracelet, try tying a surgeon's knot. This type of knot provides additional security and is less likely to come undone than regular knots. Here's how you do it:
1.Cross both cord ends overhand and tie an overhand knot (mimicking how tying shoes works).
2.Secure it tighter by wrapping each end through an additional overhand knot that connects them (similar to how shoes tie).
3.Tighten it around two cord ends (like when tying shoes).
4.Pass one end of the cord through the loop again to form a double overhand knot, and tighten tight for security.
You could also use a square knot or granny knot; however, a surgeon's knot provides greater safety.

Hide the Knot
Once the knot has been secured, tuck it under one of the nearest beads to conceal it and give your bracelet an attractive finish. For extra security, dab some jewelry glue onto it before tucking it under any bead; allow this step to dry fully before wearing your bracelet.

Congratulations on creating your very first crystal bracelet! With this quick and simple method, creating stunning jewelry pieces in no time at all is now easier than ever before. Customize it further with charms, spacers, or tassels for an eye-catching design and show them off to friends and family or sell them - happy crafting!

KarmaBless has a wide range of spiritual jewelry that will enhance your daily life, meditation, and mindfulness. We have the perfect piece for you, whether it's a Buddha crafted from soothing sandalwood, a protective black onyx, or a healing rose quartz. Explore our selection on our official site at KarmaBless and learn how our jewelry supports your spiritual journey.